Paper Plates Simple Crafts Part 2

Have fun making crafts with your children on the weekends and during breaks. Yes, our computer savvy kidoes still love love to do hands on activities.
And you will find that they will create some adorable creations on their own.
Two little prickly critters

Making clever creations with paper plates is fun and usually inexpensive... You can get very fancy with these creations or make them very simple depending on the age of the children and the financial concerns.
The paper plate creations presented are not pricey. As a matter of fact, if you have school-age children or grandchildren, many of the items you need are already in a closet or cupboard waiting to be turned into something F U N.
Read Some Stories to Set the Stage for Creating
These crafts are some that children will often ask to do. In this article two more are shared with you. The website is: http://www.dltk-kids.com/animals/mporcupine.htm
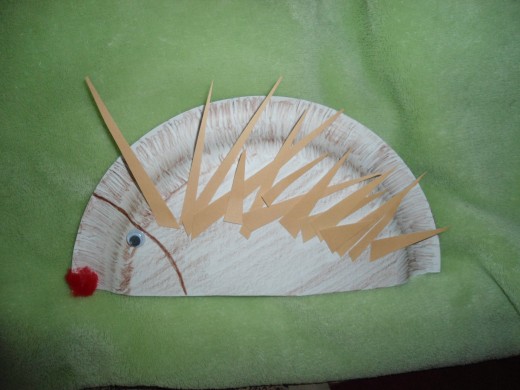
This first craft is a hedgehog or porcupine. This would be a time when you could read or tell a short bit about each critter and show how they are alike and how they are different.
You could also read some books to them...fiction or nonfiction.
Two of my favorites are:How Do you Hug a Porcupine? by Laurei Isop and The Mitten by Jan Brett.
Making a hedgehog..what you need
To make a hedgehog, you need:
- a white paper plate
- crayons, markers, colored pencils, or poster paint
- paint brush (if you use paint)
- scissors or paper cutter
- glue
- pompom, black or red
- faux jewels (optional)
- craft foam (optional)
- construction paper
Getting ready to create a porcupine or a hedgehog...

What to do
It is recommended that an adult cut the quills. They would be a bit tedious for a child.
- Cut paper for quills. Use the brown cardboard from the back of (some) packs of construction paper. Or, use cardstock. Cut so the quills look like long triangles. See the photo.
- Cut the paper plate in half and color if desired.
- Glue quills so that a large portion of the body is covered overlapping as you go. See the photo.
- Draw on an eye or use a googly eye.
- Draw on a mouth and nose.
- Or, make a nose out of a pompon or cut a piece of construction paper for a nose.
- Draw a semi-circle above the eye so as to distinguish the head from the rest of the body.
- Set aside to dry.
Making a crown...
Making a crown is delightfully simple and great fun.
You need:
- A dinner-size paper plate ( yellow one saves work ..they are a dollar at the dollar store)
- construction paper or craft foam
- faux jewels
- crayons, markers, or colored pencils (if you use a white paper plate)
- glue
What to do...
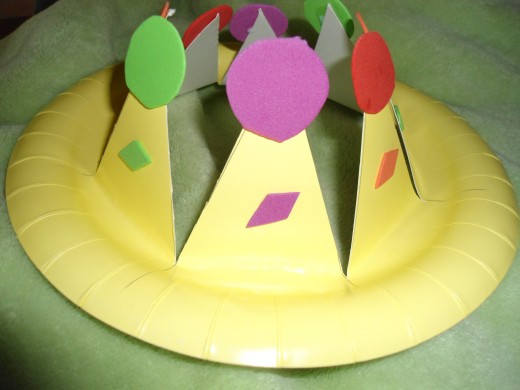
The crown will be made with ease.
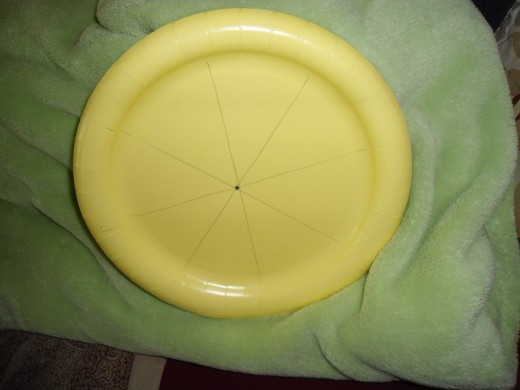
- Make a point in the center of the plate.
- Draw lines dividing the plate into eighths.
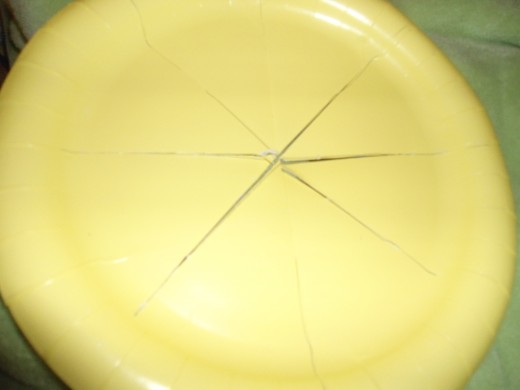
- Cut along the lines till you get to the 'bump' in the plate.
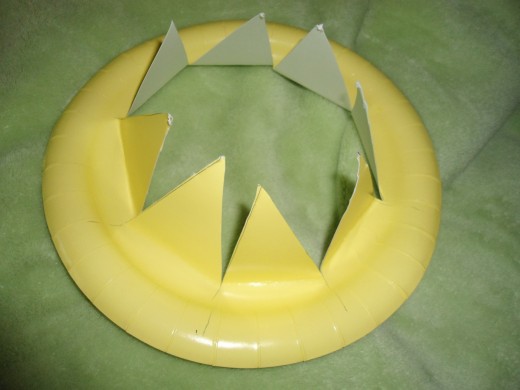
- Fold the points back so they will stand up nicely.
- Cut small circles from colorful craft foam or construction to decorate the tops of the points.
- Or, decorate with faux jewels.
- Cut small diamond shapes to decorate the lower portion of the point.
- Set aside to let dry.
- Let everyone wear their crowns.
Faux jewels are not recommended for very young children. They tend to pick them off and swallow them.
Step 1...Make a point in the center and divide the plate into eighths
Step 2 ...Cut into 8 pieces like a pie
Step 3...Fold cut pieces so they are upright
Decorate as you wish...
© 2012 Patricia Scott


