Decorating Clay Pots for Fun and Gifts Part 2

Decorating pots for fun and for gifts part 1
The steps in turning a clay pot into a gift or to use around your home is shared in this first of two videos.
http://pstraubie48.hubpages.com/video/pstraubie48hubpagescomedecoratingclaypotsforfunandforgifts
Make your own modge podge
Modge Podge is the commercial name for a product used to cause materials to stick to a surface or to each other. It is quite costly The following recipe will give you a homemade version which is about one fourth the cost of its commercially produced relative.
MATERIALS
- Two 8 ounce bottles of white glue (Elmer's is best)
- One empty, clean, dry jar or bottle
- 8 ounces of water
DIRECTIONS
- Pour glue from 8 ounce bottles into your container
- Pour water into empty glue containers into empty bottles and shake well to release glue that has been left behind.
- Pour this mixture on top of the glue that is in the container..
- Close the container tightly.
- Shake the container until the glue and water are well mixed.
In the first of these two articles on decorating clay pots an overview of the process was given. In this one, more explicit photographs and explanation is given.
These are an unusual gift to give and they are a fun project to work on with friends or alone. This is a project that children can also do.
How you choose to decorate your pots is going to be up to you. Imagination and creativity are the way to proceed.
Organization and preparation
For this project you need:
- clay pots new or used
- white flat paint
- paint brush (one standard size/one small artist type brush)
- Modge Podge or homemade gluing agent
- scissors
- 2 ply napkins
- clear, acrylic spray
- cans or bottles
Glam up your pots using these ideas
Part 1 of instructions
The video shows how to proceed with this project. I thought you might want to have the instructions so you can review them.That is why they are being included here.
- Clay pots: if you use old, discarded pots, wash and dry them thoroughly before painting them If you are using, new pots proceed.
- Using flat, white paint, you will paint outside and inside of the pot. If you are using old pots it is definitely recommended that you paint the inside. For new pots it is optional. It depends on what you plan to put in them when you give them to someone as a gift.
- Allow to dry completely.
Next:
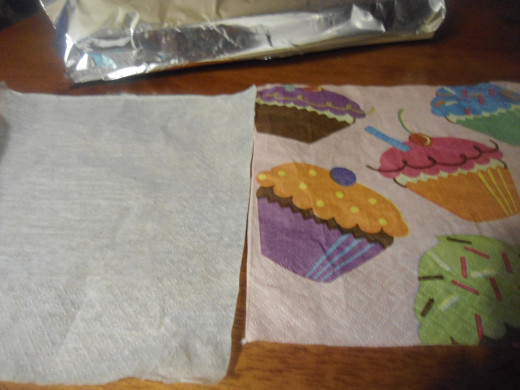
- Remove the back off of the two ply napkins and set the part with designs in a pile ready for use.
- Select the portion of the colorful side of the napkin you wish to use. You may wish to only use one section of it such as one cupcake like I did in a pot shown here. I cut out several of them to space around the pot.
- If you wish to use the whole napkin, you can measure it to see how much excess to cut off before you begin brushing Modge Podge on the pot.
- Brush Modge Podge (or homemade cousin) on the pot.
Part Two of Instructions
- Carefully place napkin on the pot.
- Gently press it down so it adheres to the pot, pressing a small amount of the napkin down at a time to avoid excess wrinkling.
- Use your small brush to paint more Modge Podge over the napkin till it is well covered.
- Use your finger to gently rub out some of the wrinkles.
- Be careful with that step as some napkins will tear easily.
- Continue in this way till the outside of the pot is completely covered.
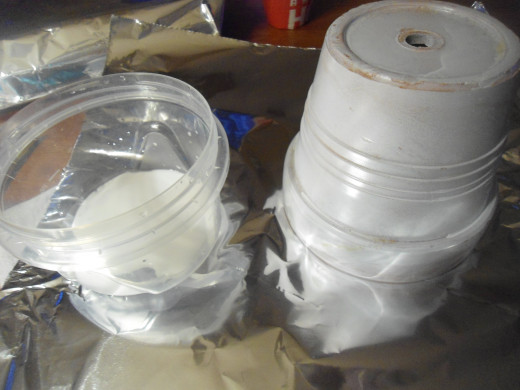
- Set pot on a can or bottle to dry.
Part Three of Instructions
- When the outside of the pot is dry. turn it upside down.
- Cut a small design from a napkin and modge podge it to the bottom of the pot.
- Let dry completely.
Next:
- Turn the pot right side up.
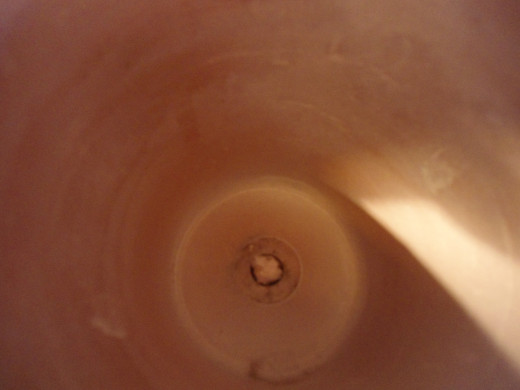
- Take a small piece of the backing you removed from your two play napkin and make it into a ball just the right size to fit in the hole at the bottom of your pot.
- Place it in the hole.
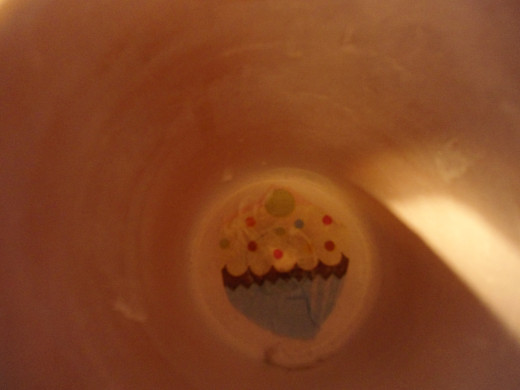
- Once again, cut out a small design from your napkin and Modge Podge to cover the little ball and covering the hole.
- Allow to dry completely.
- Spray with clear acrylic spray in a well ventilated area.
- Let dry.
- Your pots are now ready for use....give as a gift or use around your home.
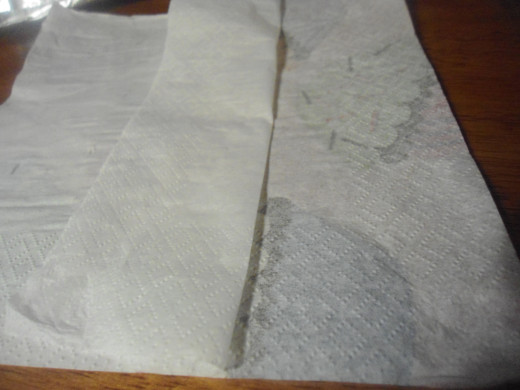
Taking the back off of the 2 ply napkin
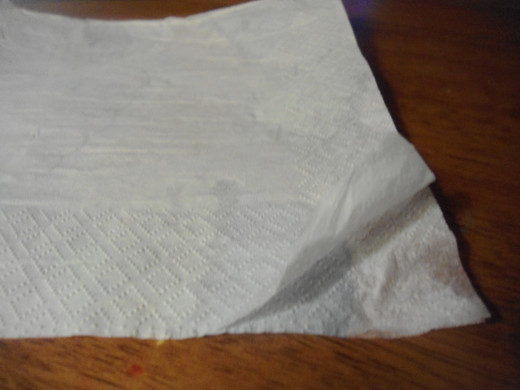
The backing is easily removed
Backing and the colorful part of the napkin
Modge podge and painted clay pot
Small piece of napkin in the hole
Hole covered with a small decorative piece of napkin
Small Ho Ho Ho pot
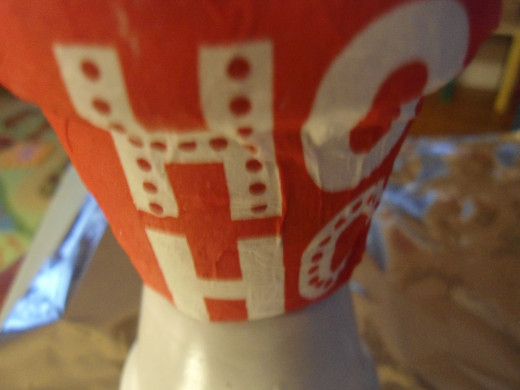
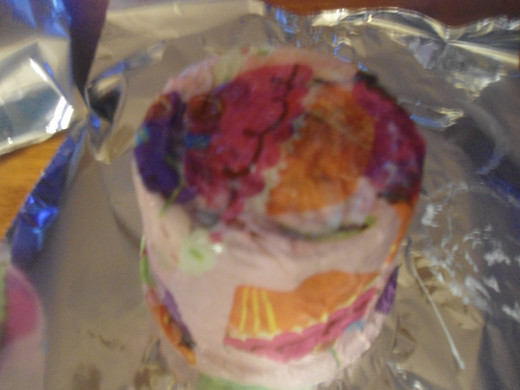
Photo #1 Small pot, still wet; Photo #2 Bottom of pot/small cut out to cover the hole area
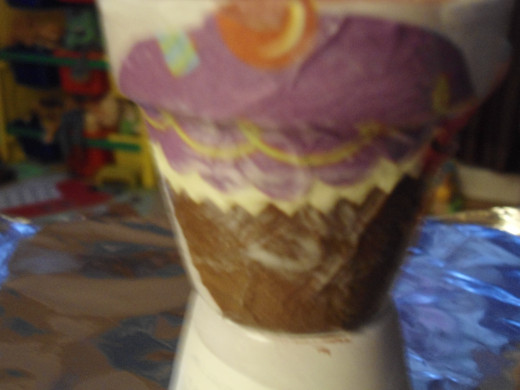
Another cup cake pot/still wet


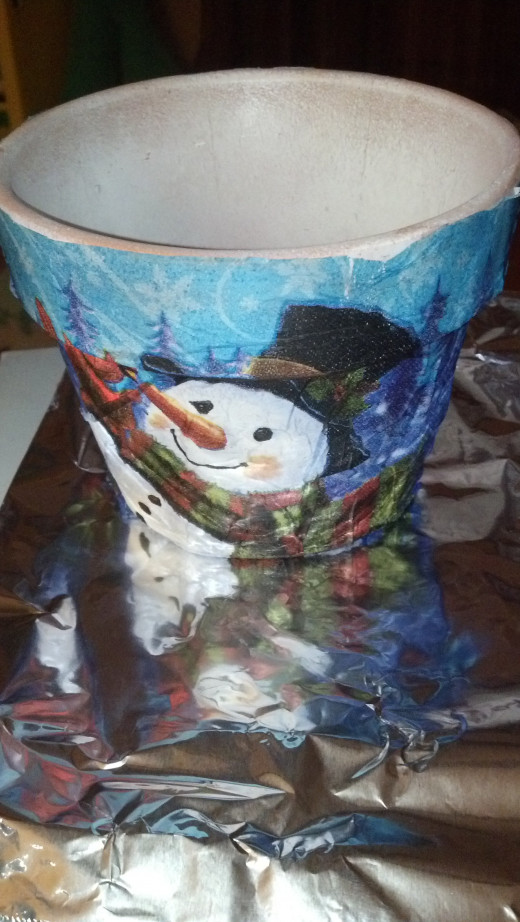
Snowman
A fun project for you and your family
You will find this is a fun and pretty simple project to do with your family. You will be pleasantly surprised with the results. There are such a wide variety of napkins available that you have a lot of choices.
Call the family together, prepare your materials, and have fun. This will be a gift you can be happy to give. It is unusual and is a gift from the heart. Happy decorating.
This content is accurate and true to the best of the author’s knowledge and is not meant to substitute for formal and individualized advice from a qualified professional.
© 2012 Patricia Scott